Video podcasting
How do you edit a podcast?
By the team at The Cast Studio · Updated · 11 min read
In short
Editing a podcast takes nine steps: back up and sync your files, cut what loses listeners, clean up noise and filler words, cut between camera angles, mix, add graphics, export and cut clips. Apple Podcasts lists a loudness of about -16 dB LKFS and a true peak no higher than -1 dB FS.
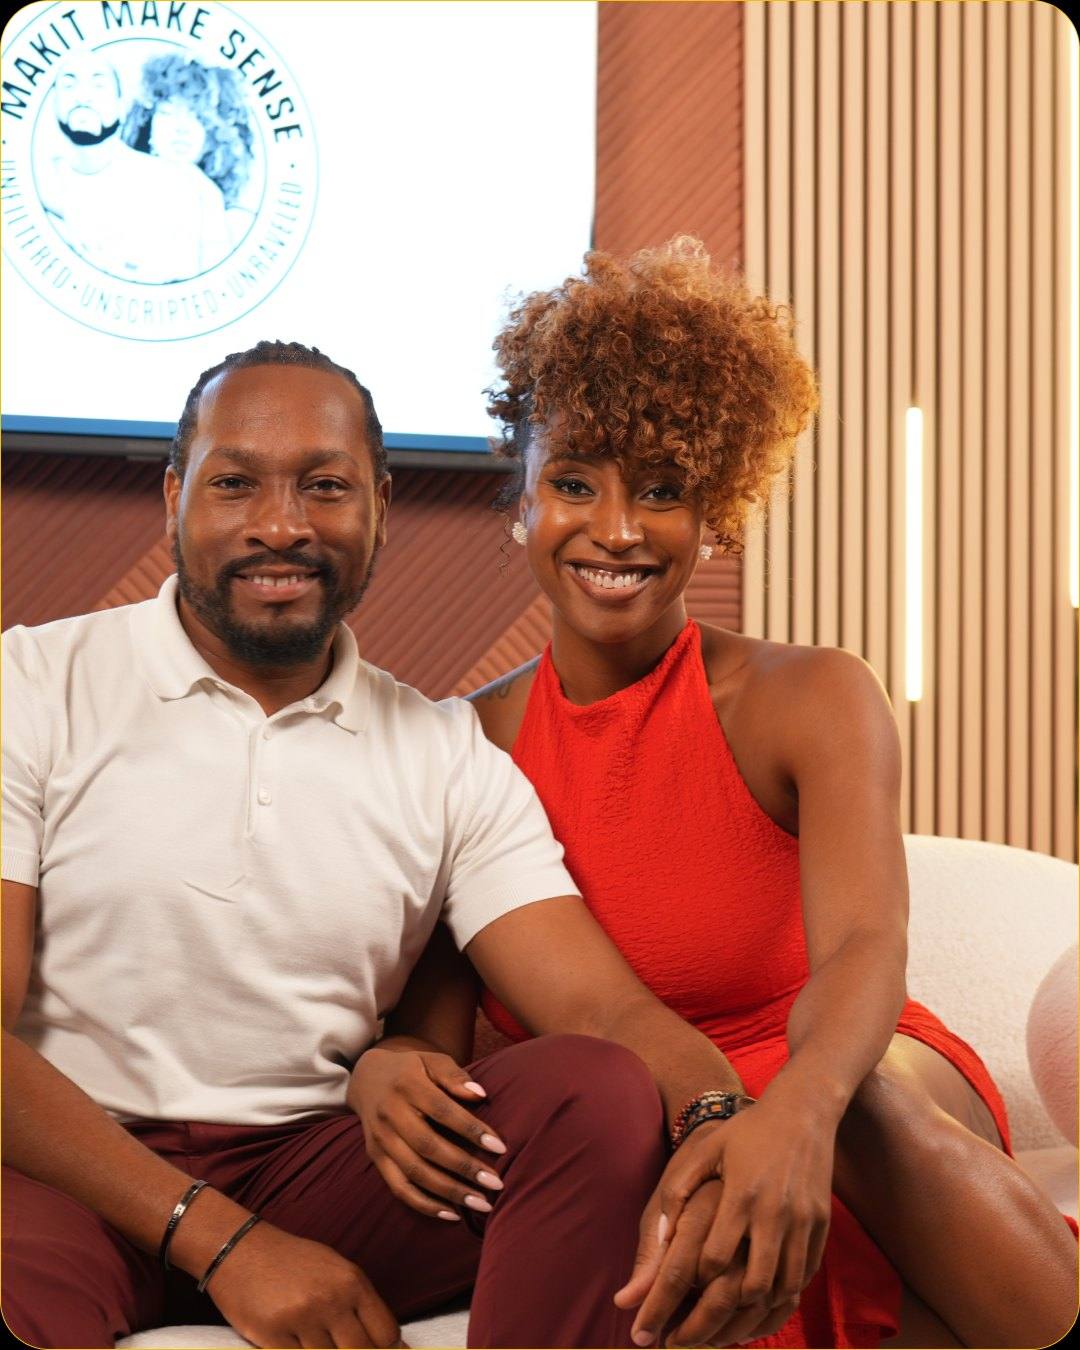
Editing is what makes a recording easier to follow. You cut the parts that lose listeners, even out the sound and, for video, switch between camera angles. This guide walks through the steps in order, with the loudness and export numbers Apple Podcasts publishes, a table of editing software with prices checked on October 4, 2026, and a way to decide between editing yourself and hiring an editor.
What does podcast editing involve?
Podcast editing takes nine steps, and the order matters: you cut before you clean up and clean up before you mix, so you never polish audio you later delete.
- Organize and back up the files. Copy everything off the cameras and the mixer, and keep the originals untouched.
- Sync audio and video (video only). Line up every camera with the main audio.
- Make the content edit. Cut false starts, repeated points and tangents.
- Clean up. Remove distracting filler words and long pauses, and reduce noise.
- Cut between camera angles (video only). Choose the shot for every moment.
- Mix the audio and set the loudness. Balance the voices and meet the loudness target.
- Add graphics (video only). Titles, your logo and lower thirds.
- Export. Make the audio and video files you will publish.
- Cut clips. Pull short pieces from the finished episode.
An audio-only show skips steps 2, 5 and 7.
How do you organize and back up your files before editing?
Copy every raw file to a second drive or cloud folder before you open any editing software, and edit only the copies. You cannot record the same conversation twice, so the raw files are the one thing you cannot replace.
Then set the project up so you can still find things months later:
- One folder per episode, with the video, audio, graphics and exports in subfolders and the project file beside them.
- Episode and source in every file name, for example "ep12-cam1-wide" and "ep12-mixer-audio".
If you record at a studio, ask how long the files are kept. At The Cast Studio, Studio Recording delivers raw files within 24 hours, with the three 4K angles and the audio, and keeps them for 14 days. Studio Recording + Enhanced Edit keeps your files for 30 days. Copy them to your own storage when they arrive.
How do you sync audio and video from several cameras?
Give every camera and the mixer one shared moment to line up on: a loud clap or a slate at the start of the recording. Clap once, where every camera can see your hands. The clap shows up as a sharp spike in each recording's audio and as a visible moment in the picture, so you can line the clips up on it. Editing software can also sync clips by matching waveforms, which helps when nobody remembered to clap.
Record the main audio on the mixer
Record the voices separately on the mixer and use that recording as the sound of the episode. The cameras' own microphones then serve only as a reference for syncing, and you can mute them once the picture lines up.
Check the sync at the start and again near the end before you cut anything. If lips and voices have drifted apart, fix that first, because every later edit builds on it. Our guide to podcast camera setup covers the settings to match across cameras and the clap or timecode that makes this step easy.
What should you cut?
Cut what a listener would skip: false starts, repeated points, tangents that do not pay off and housekeeping talk. Listen to the whole episode once, note the places to remove, then cut in a single pass from start to finish.
- False starts. The question asked three times, the sentence begun over again. Keep the take that sounds natural.
- Repeated points. If the guest makes the same point twice, keep the clearer version.
- Tangents that do not pay off. A detour that circles back to the topic can stay. One that never returns can go.
- Housekeeping talk. "Are we recording?", level checks, a phone buzzing, a pause to find a glass of water.
Do not over-cut natural laughter, reactions or the short pauses that let a point land. The goal is an episode that feels like the conversation did, only tighter. A fair test for any cut: would a first-time listener notice something missing? And never cut in a way that changes what someone meant.
Mark the strongest moments as you listen. They become your clips in step 9.
How do you clean up filler words, pauses and noise?
Clean up after the content edit, and keep it light: remove the filler words and pauses that distract, reduce steady noise gently and leave enough natural speech that people still sound like themselves.
- Filler words. Cut the "um" and "uh" that interrupt a sentence. Keep the ones that sit inside a natural rhythm, because a voice with every filler removed sounds clipped.
- Long pauses. Shorten a long silence instead of deleting it, so listeners still have time to follow.
- Noise. A steady hum from a fan or an air conditioner can be reduced with a noise-reduction effect. Use a light setting and listen to the result, because too much makes voices sound unnatural.
- Edit points. A cut can leave a click where the sound jumps. A very short crossfade across the cut smooths it.
Fixing noise in the edit is slower than avoiding it at the microphone.
How do you edit a multicam video podcast?
Start on a wide shot for context, cut to a single shot of whoever is speaking, and use a reaction shot now and then to vary the rhythm. In a typical two-person setup, the three angles are a wide shot and a close-up of each speaker.
- Use the wide shot to open, reset and cover. It shows who is there and where, rests the eye after a run of close-ups and covers a close-up with a flaw, such as a microphone arm across a face.
- Cut to the speaker as they start. Switch just before or as a new person begins, so viewers are never looking at the wrong face.
- Use reaction shots for rhythm. When a line lands or a joke works, cut to the listener's face.
- Do not switch on every word. Let a speaker finish a thought before you cut away. In a fast back-and-forth, stay on the wide shot instead of bouncing between close-ups.
- Hide your cuts. Where you removed a section, change angles at that point so the speaker does not seem to jump.
Because the audio runs as one continuous track, you can change the picture wherever it helps the viewer without touching the sound.
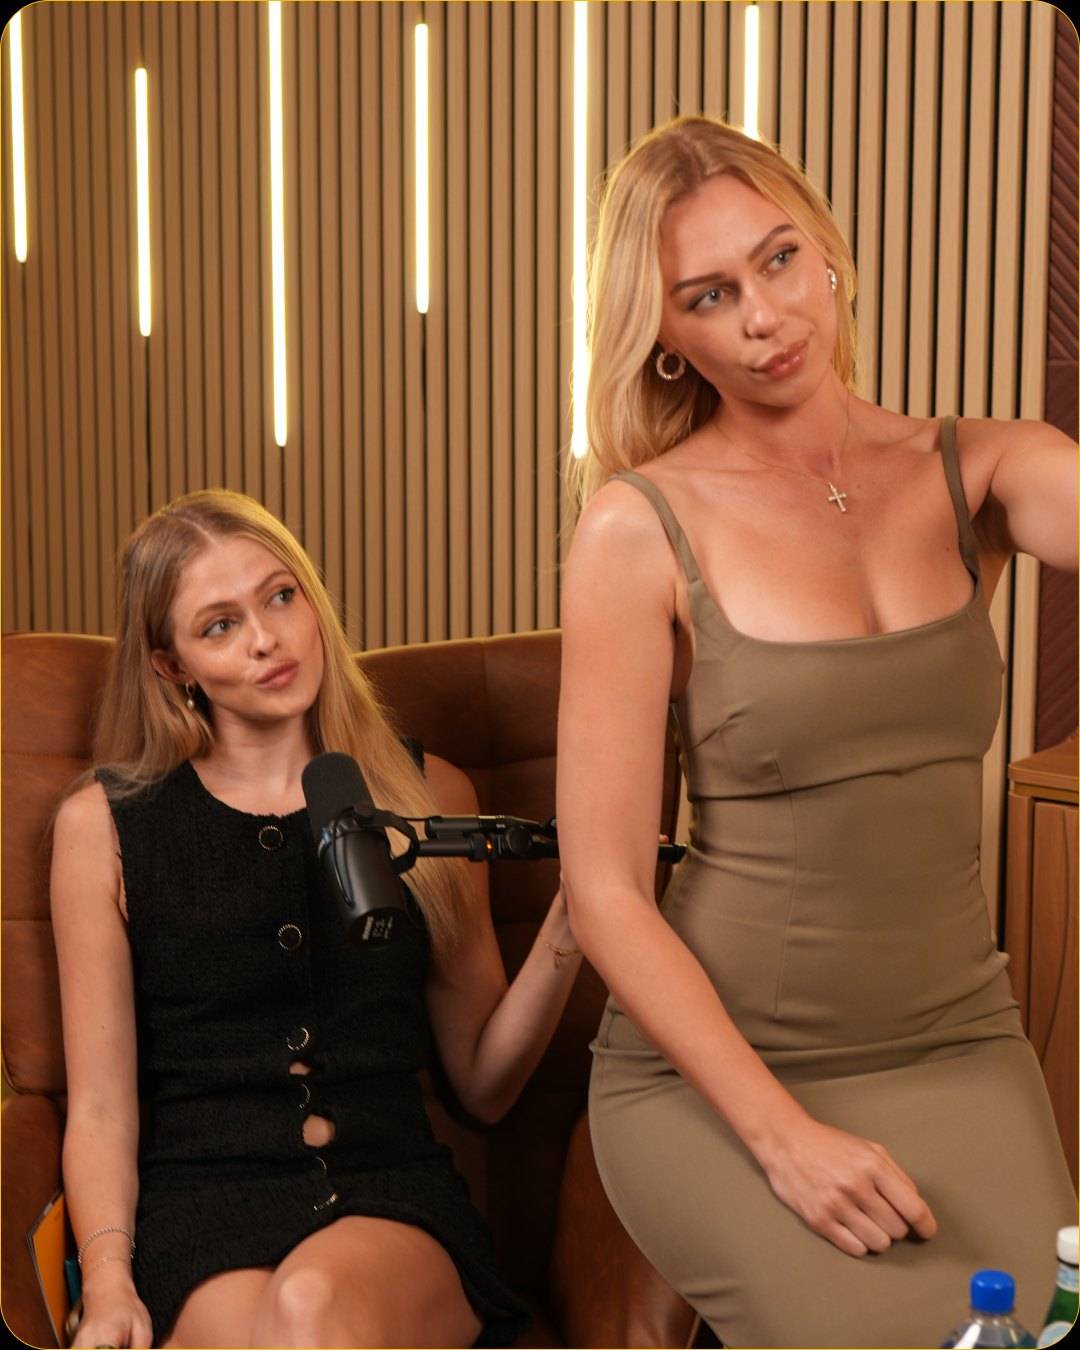
At The Cast Studio, Studio Recording gives you three 4K angles from the studio's Sony cameras, with a full team running the cameras, lighting and audio. Inputs for up to five camera angles are available for an extra fee. The video podcast studio page lists the full equipment.
How loud should a podcast be?
Apple Podcasts lists a loudness of around -16 dB LKFS, plus or minus 1 dB, with a true peak not above -1 dB FS.
| Measure | Apple Podcasts figure |
|---|---|
| Loudness | Around -16 dB LKFS, plus or minus 1 dB |
| True peak | Not above -1 dB FS, measured per ITU-R BS.1770 |
Loudness describes how loud the episode sounds overall. True peak is the highest level the signal reaches, so a limit of -1 dB FS leaves a little headroom.
To get there:
- Bring each voice to a similar level first. A host who is much louder than the guest makes listeners reach for the volume.
- Keep music and sound effects under the voices.
- Measure the whole mix with your editor's loudness meter or loudness-normalization effect, then adjust until it lands in the range.
- Measure the exported file once more. The numbers should still be in range.
How do you add titles, a logo and lower thirds?
Add graphics once the cuts are final, and reuse the same design in every episode. If you move a cut after placing a title, you may have to place the title again.
- Names. Put each speaker's name in a lower third the first time they appear. Add a role if it helps the viewer.
- Logo. Place it in the same corner every episode, small enough to stay clear of faces.
- Consistency. One font, one set of colors and the same positions make a show look like a series.
- Distance from the edges. If you plan vertical clips, keep text toward the center, because a vertical crop cuts off the sides.
What export settings should you use?
Export audio as an MP3 that follows Apple's settings, and export video at the resolution you recorded, such as 4K or 1080p for YouTube.
| File | Setting |
|---|---|
| MP3, stereo | 44.1 or 48 kHz, 128-256 kbps recommended |
| MP3, mono | 96-128 kbps recommended |
| Video | The resolution you recorded, such as 4K or 1080p for YouTube |
Edit once and export twice, so the MP3 for podcast apps and the video for YouTube come from the same finished edit and always match. Then listen to the exported file, not the project: the start, the end and every place you cut, on headphones and on a phone speaker. Fix any problem in the project and export again.
How do you turn an edit into clips?
Mark the strongest moments while you edit, then cut each one as a complete idea that makes sense without the rest of the episode. You are already listening to the whole recording for the content edit, so the marks cost almost nothing. A vertical clip is cropped from a horizontal frame, so keep the speaker near the center of the shot. Our guide to podcast clips explains what makes a clip work, which formats to make and how to spread them over four weeks.
How long does it take to edit a podcast?
It depends on how clean the recording is, how much you cut and whether you edit video, so plan for more than the running time of the episode. You should listen to all of it at least once, and every extra job adds to that.
- Light audio edit: trim the start and end, cut obvious mistakes and set the loudness. This takes the least time.
- Full audio edit: content cuts, filler words, noise and a mix, which means more listening passes.
- Multicam video edit: an angle for every moment, plus sync checks.
- Graphics, export and clips: a separate pass for each.
We do not quote hours per episode because they vary too much between shows. Two habits shorten every edit: a written outline, which gives you less to cut, and a saved template with your intro, outro, graphics and export settings.
Which editing software should you use?
Use the simplest tool that does what your show needs: a free audio editor such as Audacity for audio-only shows, and a video editor for multicam.
| Tool | Price (October 4, 2026) | Good for |
|---|---|---|
| Audacity | Free, open source | Cutting and cleaning up audio |
| Descript | Free: $0 with 60 minutes of media a month. Hobbyist: $16 a month billed annually ($24 monthly). Creator: $24 a month billed annually ($35 monthly) | Editing audio and video together |
| Riverside | Free: 2 hours of multitrack recording, 720p with watermark. Pro: $24 a month billed annually ($29 monthly), up to 4K | Recording remote guests and editing in the same tool |
| A video editor such as DaVinci Resolve | DaVinci Resolve has a free version | Editing video, including cutting between camera angles |
The table shows the plans we compared, so check each company's pricing page for others, and expect prices to change.
Should you edit yourself or hire an editor?
Edit it yourself if you record occasionally and want control over every cut, and hire an editor, or book the edit with your studio session, once editing takes more time than you can spare.
| Option | Cost | Choose it when |
|---|---|---|
| Edit it yourself | Your time, plus software: free with Audacity or DaVinci Resolve's free version, or $35 a month for Descript Creator billed monthly | You record occasionally, enjoy the work or are still learning |
| Hire a freelance editor | Rates vary, so ask for a quote | You publish on a schedule or have multicam video to edit |
| Book the edit with the studio | $455 per hour at The Cast Studio with Studio Recording + Enhanced Edit | You want a finished episode from one booking |
At The Cast Studio, Studio Recording at $250 per hour delivers raw files within 24 hours, so you or your editor can do the edit. Studio Recording + Enhanced Edit at $455 per hour adds a 4K multicam edit with mastered audio, your logo, lower thirds and name titles, plus 30-day file storage. A Rodecaster switchboard for on-site editing is also available for an additional fee. The podcast editing page explains what the Enhanced Edit includes, and the podcast studio rental page lists every package and price.
If you hire a freelance editor, send the same things every time: the raw files, your logo, the spelling of every name, the loudness target above and a note of the moments to keep or cut.
Want three 4K angles and, if you choose, the finished edit from the same booking? Book a session, or see the six sets on a free studio tour first.
Sources and method
Loudness, true peak, sample rate and bitrate figures come from Apple Podcasts for Creators, audio requirements (podcasters.apple.com/support/893-audio-requirements). Software plans and prices come from the Descript and Riverside pricing pages and from audacityteam.org. All of these were checked on October 4, 2026. DaVinci Resolve is named only as an example of a video editor with a free version. The Cast Studio's packages, prices and equipment come from its published packages and Terms of Service (effective February 1, 2026), checked on October 3, 2026. The editing advice is general practice, not the result of testing each tool, and vendors change plans without notice, so confirm prices on their pages before you subscribe.
Frequently asked questions
How long does it take to edit a podcast?
It depends on how clean the recording is, how much you cut and whether you edit video. You need to hear the whole episode at least once, so plan for more than its running time. Multicam cutting, graphics and clips each add time, and a saved template for your intro, graphics and export settings shortens every episode after the first.
What is the easiest way to edit a podcast?
Record cleanly, keep the edit light and use one tool that fits your show. Audacity is a free audio editor, and Descript has a free plan with 60 minutes of media a month. If you would rather not edit at all, The Cast Studio's Studio Recording + Enhanced Edit delivers a finished 4K multicam edit for $455 per hour.
What loudness should a podcast be?
Apple Podcasts lists a loudness of around -16 dB LKFS, plus or minus 1 dB, and a true peak, measured per ITU-R BS.1770, not above -1 dB FS. Balance your voices first, then measure the finished mix with a loudness meter and adjust it until it lands in that range. Check the exported file again before you publish.
Do you need to edit a video podcast differently?
Yes, in three ways. You sync the cameras to the audio, you cut between angles, and you add graphics such as your logo, lower thirds and name titles. The audio steps stay the same: cut, clean up and set the loudness. Record the main audio separately on the mixer so the picture can change freely over one continuous track.
How much does podcast editing cost?
It depends on who edits. Doing it yourself costs your time plus software: Audacity is free, and Descript Hobbyist, Descript Creator and Riverside Pro cost $16 to $35 a month as of October 4, 2026. At The Cast Studio, Studio Recording + Enhanced Edit is $455 per hour and includes a 4K multicam edit. Freelance editor rates vary, so ask for a quote.
Written by the team at The Cast Studio, a podcast and video studio at 801 NE 2nd Ave, Ste 120, Fort Lauderdale, FL 33304. Facts and prices are checked on the date shown above. About the studio.